![]()
Reference Guide
|
|
Index |
|
Search |
|
Glossary | |||||
|
|
Contents |
|
Help |
|
||||||
|
|
|
|||||||||||||||||||||||||||||||||
Printer Software Settings / For Windows
Making the print settings
You can make Layout, Quality, Options, Color Option, and Orientation settings on the Main menu. Refer to the appropriate section below.
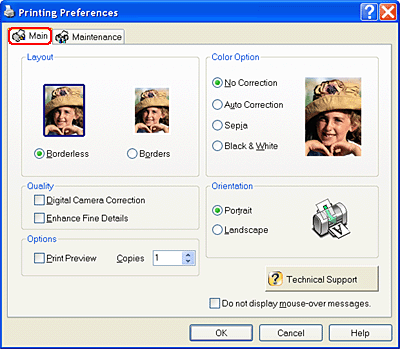
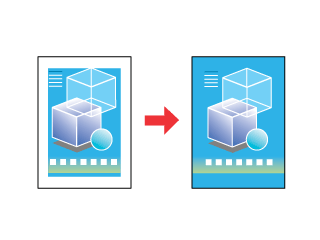
Select Borderless radio button to print without margins on all four sides of the paper. Follow the steps described below for Borderless printing.
| Note: |
|
You can select one of the following quality types.
|
Digital Camera Correction |
This mode applies image correction settings specially designed for scanned or digitally captured photos. |
|
Enhance Fine Details |
For top-quality photographic printing. |
| Note: |
|
Lets you see a preview of your image before printing.
When you send a print job to the printer, the Print Preview window opens, allowing you to make changes before printing.
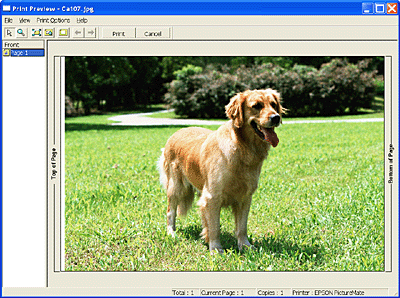
The Print Preview toolbar contains several icon buttons to perform the following functions.
|
Icon |
Button name |
Function |
|
|
Zoom |
Click this button to enlarge or reduce the size of the previewed page. |
|
|
Fit To Screen |
Click this button to scale the previewed page so that it fits the size of the window. This is convenient when you want to see the entire page at one time. |
|
|
Maximum Zoom |
Click this button to display the previewed page at the maximum possible zoom ratio. |
|
|
Printable Area On/Off |
Click this button to display or hide the borderlines which indicate the printable area. The printer cannot print anything which is outside of this area. |
You can also manipulate the image being previewed in the following ways:
After you have previewed the image, click Print to print the image, or click Cancel to cancel printing.
Select the number of copies that you want to print.
You can select from the following settings.
|
No Correction |
No filter is applied to the printouts. |
|
Auto Correction |
Applies Epson standard tone adjustment to your image. |
|
Sepia |
Applies a sepia tone to your photos. This function applies only to photographic images. Text data and line drawings are printed in their original colors. |
|
Black & White |
Prints the image in black and white only. |
| Note: |
|
|
Select Portrait (tall) or Landscape (wide) to change the orientation of your printout.
Click this button to get further information. Clicking this button will either access more detailed information or will access a technical support Web site.
 Previous |
 Next |
| Version NPD0552-01, Copyright © 2004, SEIKO EPSON CORPORATION |