|

Online Reference Guide
|
|
Understanding EPSON TWAIN Pro Features / Using the Preview Window
Overview of Preview Window
Before you scan an image, you can use the Preview window to see the effects of most EPSON TWAIN Pro and EPSON TWAIN Pro Network settings, and to make additional image adjustments. You can also use marquees (frames) to scan only selected portions of an image. In addition, the Preview window gives you access to the Densitometer, which you can use to sample a range of pixels in the previewed image.
 |
Note:
|
 |
You cannot preview an image that exceeds available memory or disk space.
|
|
Note for Macintosh users:
|
|
The screens shown in this section are for Windows, and may differ slightly from the Macintosh version of EPSON TWAIN Pro or EPSON TWAIN Pro Network. However, the method for making settings is the same unless otherwise noted.
|
|
Note for EPSON TWAIN Pro Network users:
|
|
Although the screens shown in this guide are for EPSON TWAIN Pro, they also apply to EPSON TWAIN Pro Network.
|
To open the Preview window and the Densitometer, click Preview in the EPSON TWAIN Pro main dialog box.
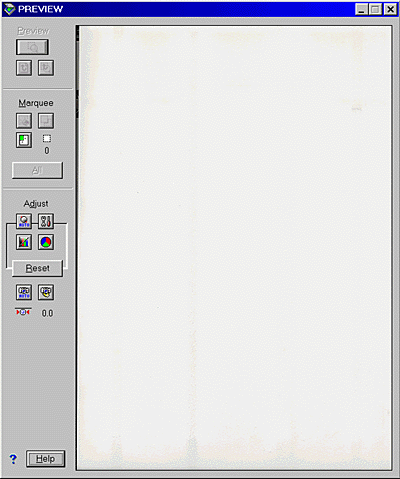
The Preview window displays the effects of the following settings.
-
Image Type: Pixel Depth, Dropout, and Halftone
-
Destination: Unsharp Mask
|
Note:
|
|
Although the image in the Preview window changes as you make settings, the settings do not affect the real image until you scan or rescan the image.
|

[Top]
| Version 1.00E, Copyright © 2001, SEIKO EPSON CORPORATION |

