 |
Replacing the Maintenance Cartridge
If the maintenance cartridge icon tells that the maintenance cartridge is full or near full on the LCD panel, replace the maintenance cartridge.
To check the product code of the maintenance cartridge, see Consumable Products.
To replace the maintenance cartridge, follow the steps below.
 |
Turn off the printer.
|
 |
Open the maintenance cartridge cover.
|
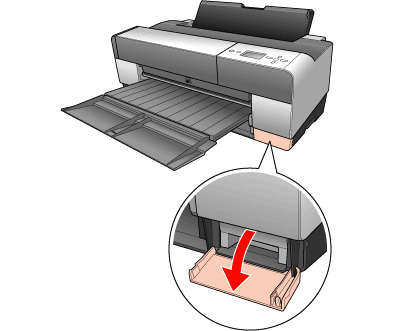
 |
Put your hand on the handle of the maintenance cartridge, then push up the maintenance cartridge and gently pull it outward.
|
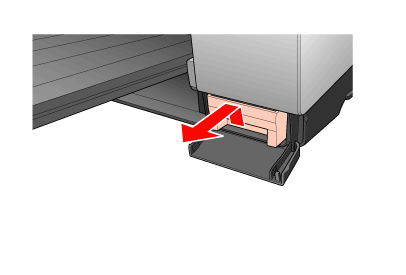
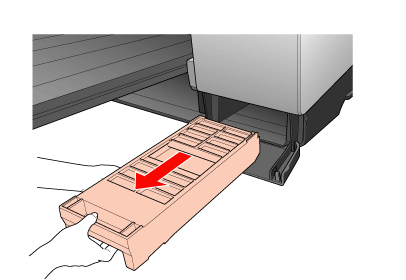
 |  |
Warning: |
 |  |
|
If ink gets on your hands, wash them thoroughly with soap and water. If ink gets into your eyes, flush them immediately with water.
|
|
 |
Put the used maintenance cartridge in the plastic bag provided with the replacement cartridge, and dispose it properly.
|
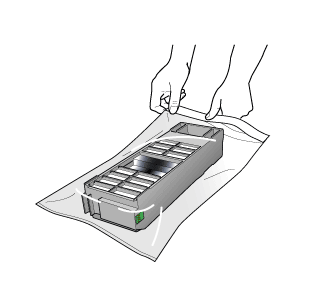
 |  |
Note: |
 |  |
|
Do not tilt the used maintenance cartridge until after it is sealed in the plastic bag.
|
|
 |
Remove the replacement maintenance cartridge from its package.
|
 |  |
Caution: |
 |  |
|
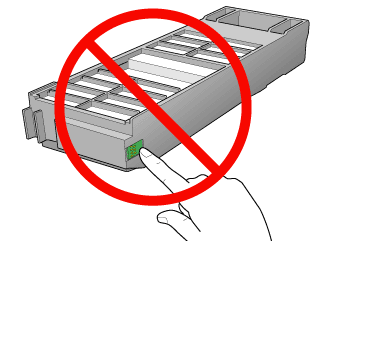
Do not touch the green chip on the side of the cartridge. Doing so may prevent normal operation.
|
|
 |
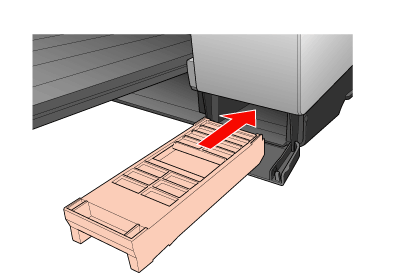
Insert the new maintenance cartridge into place as far as it will go.
|
 |
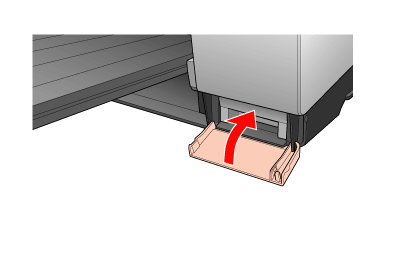
Close the maintenance cartridge cover.
|
|  |


