|
Close
Removing Roll Paper
Follow the directions below to remove the paper from the printer.
 |
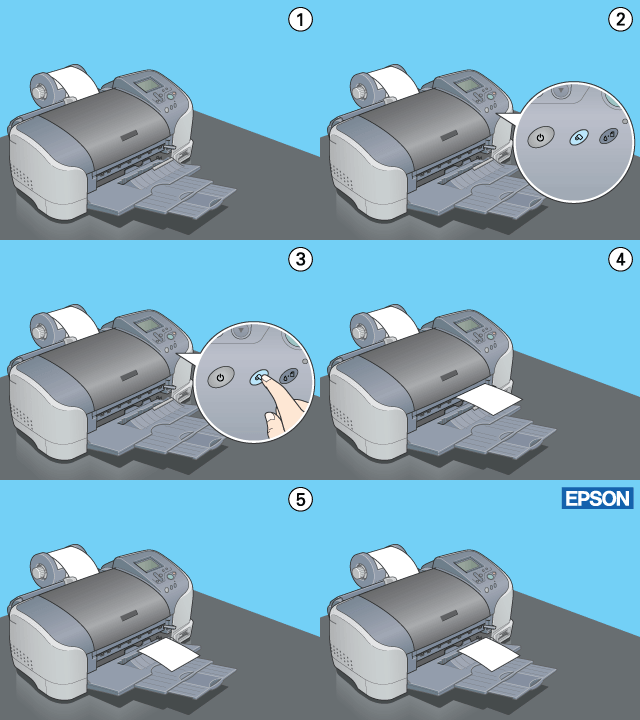
After printing is completed, the last photo printed remains in the printer without being cut. Press the  roll paper button to cut the photo remaining in the printer. roll paper button to cut the photo remaining in the printer.
|
 |  |
Note:
|
 |  | -
Depending on the size of the photos, two photos may remain in the printer without being cut. Press the roll paper button in this case as well; both photos are cut.
|
|
 |  | -
The Auto Cut settings can be changed.
|
|
 |
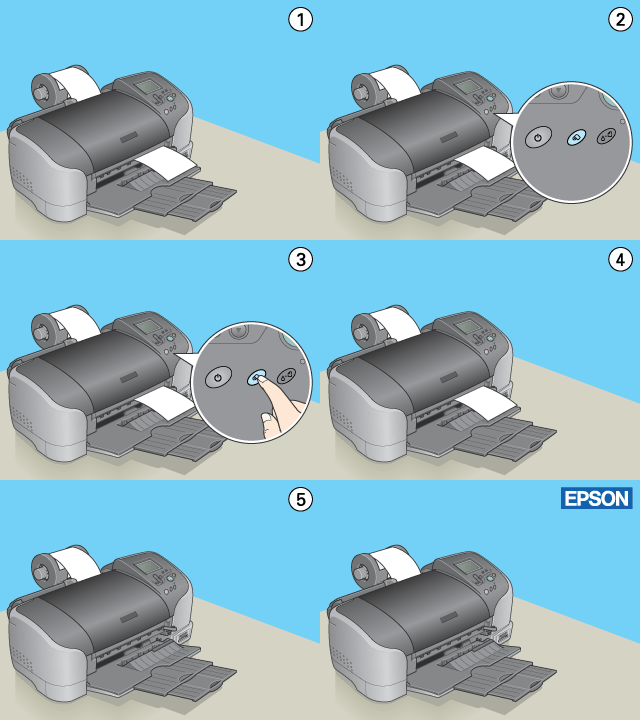
Hold down the  roll paper button for about 3 seconds. The paper feeds in reverse to a position where it can be easily removed from the sheet feeder at the back of the printer. If it does not feed to this position, repeat this step. A message indicating that the roll paper is removed appears on the display. roll paper button for about 3 seconds. The paper feeds in reverse to a position where it can be easily removed from the sheet feeder at the back of the printer. If it does not feed to this position, repeat this step. A message indicating that the roll paper is removed appears on the display.
|

 |
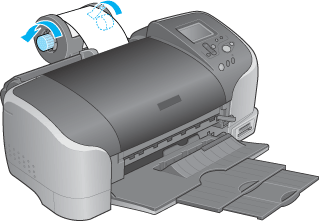
Turn the roll paper knob and roll up the roll paper.
|

 |
Remove the roll paper carefully, press the  roll paper button, and return to the main screen. roll paper button, and return to the main screen.
|


[Top]
Close
|